Wednesday, October 30, 2013

Spider Craft Tutorial

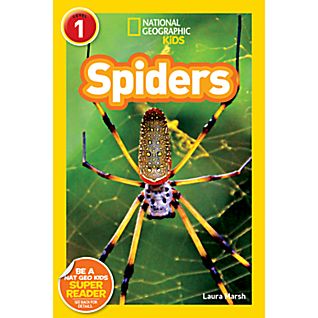
So for Spider Day each year, I make these fun creatures with my students. 


For each spider, you'll need the following: 
1 pipe cleaner for the body
12 beads for the body
4 pipe cleaners for the legs (I found animal print pipe cleaners one year at Meijer, and I've never turned back! The kids love them, and they make really cool spiders!)


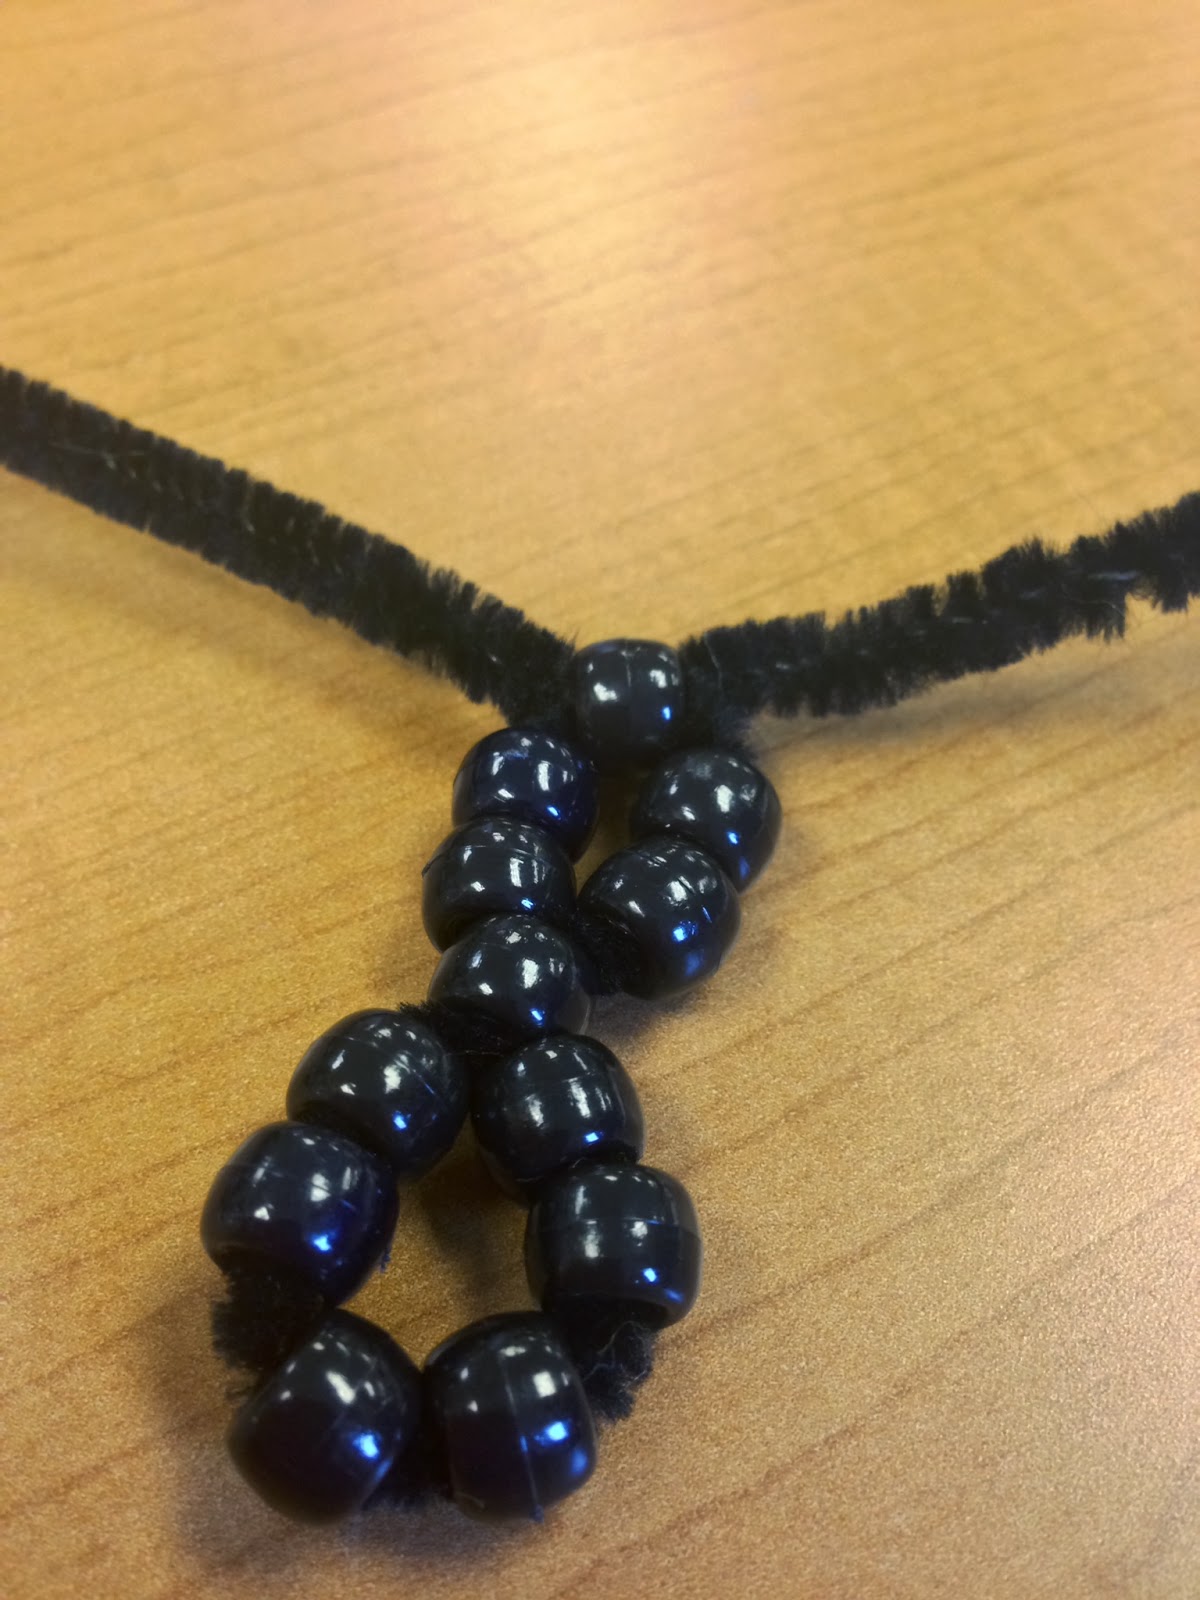
Take the pipe cleaner for the body, and string 6 beads onto it.


Fold it in half. 


Take the two ends of the pipe cleaner, and holding them together, string a bead onto both of them together.


Then, pull the two sides apart and string two beads onto each side.


Finally, take the last bead and put both ends through in opposite directions.
Pull to tighten it, and then take the two ends, twist them a couple of times, and cut off the excess.


You've now made the body of the spider.

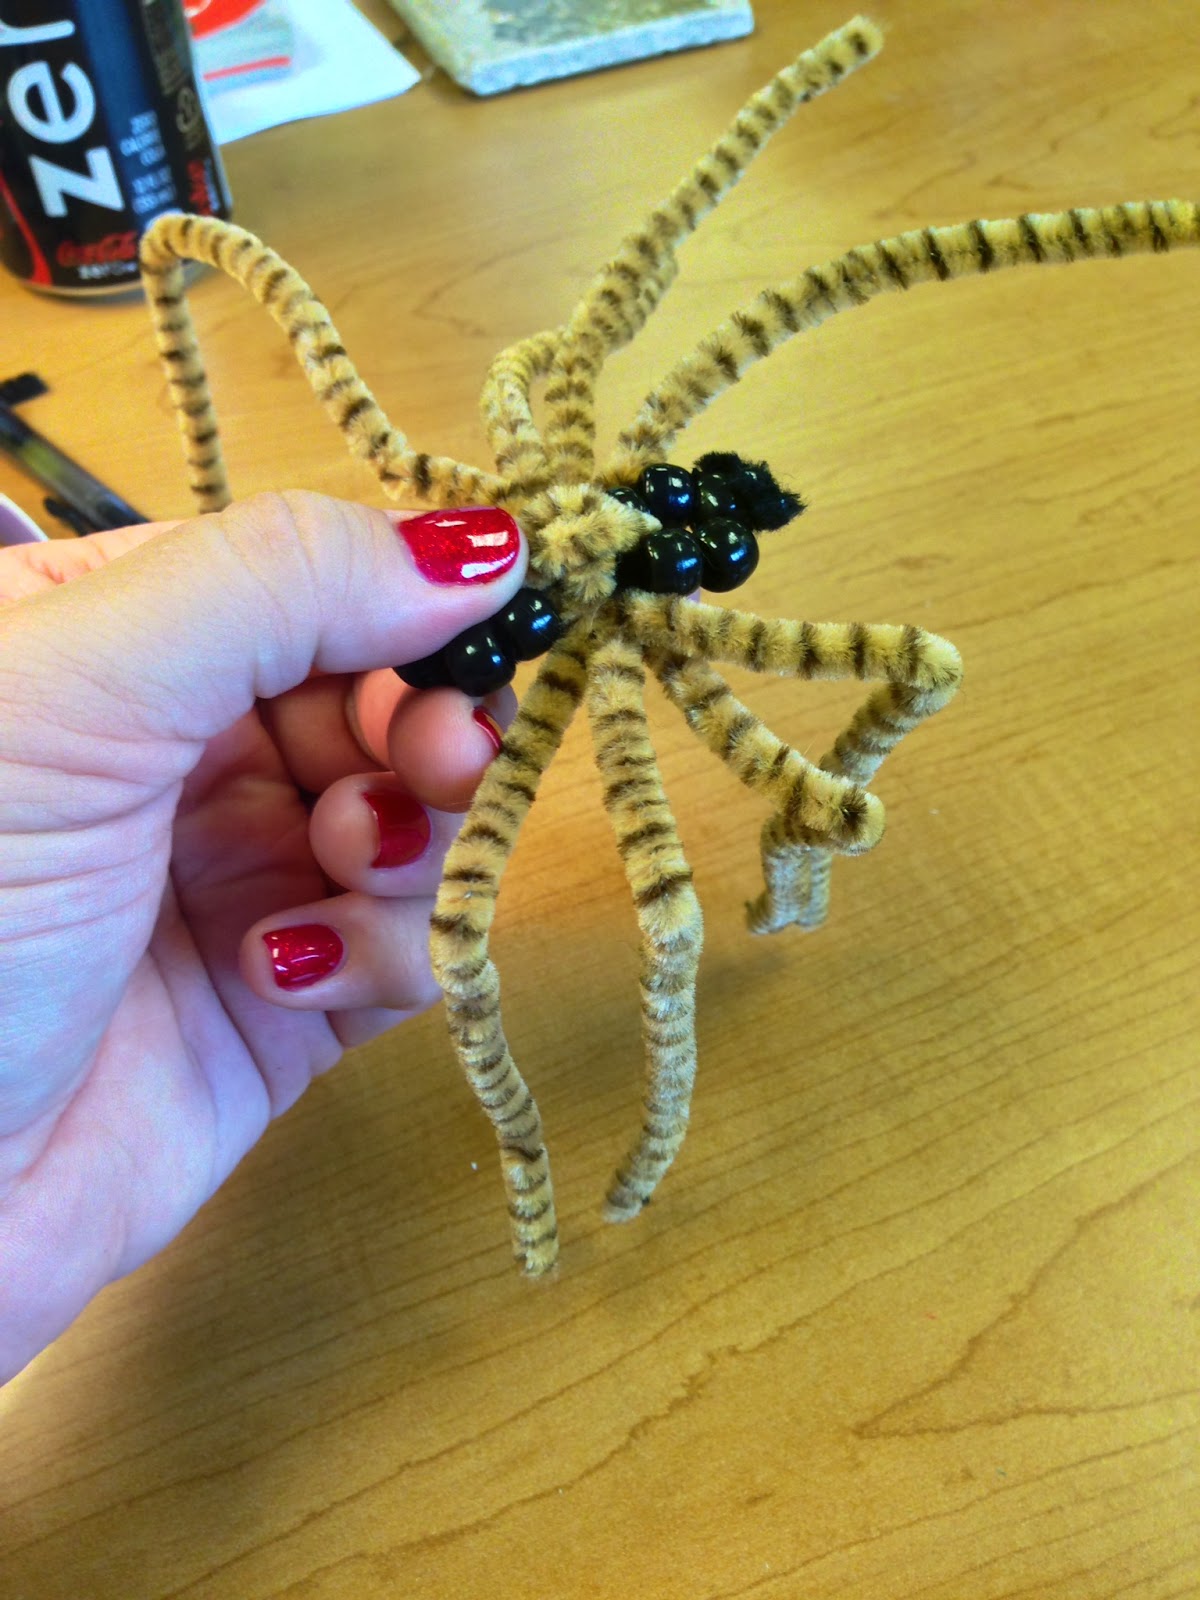
Next, grab two of the pipe cleaners you're using for legs.

Place them under the spider's middle section. Grab the pipe cleaners, twist them together once, and lay the legs out to the side.

Next, turn the spider back over so that the top is facing you. 
Take the remaining 2 pipe cleaners and feed them through the holes in the spider's body from the top, down. 


Then, flip the spider back over on its back. Pull the pipe cleaners all the way through, and twist them a time or two.


Then, just arrange the legs so there are four on each side.


All that's left is to bend the legs....
...and trim the excess length.


Viola!

Happy spider making!

Photobucket

Spider Day!

It was spider day in 4C today! Since our school doesn't celebrate or embrace Halloween, I choose to take the opportunity to have a "Spider Day" instead. And since tomorrow is Reformation Day (a big deal at the private school where I teach), I elected to have Spider Day today. 

We started our day reading this book:
It's a fantastic cautionary tale written by Mary Howitt in 1829. The kids love it because the pictures in this book are phenomenal, and because it doesn't have a happy ending. The spider eats the fly. It allows for some amazing discussion about the types of friends we choose and how sometimes flattery is sincere, and sometimes it's not. Not everyone who speaks sweetly offers sweets. 

Then, we spent some time in small group reading. We read a few books about spiders. 

We watched a spider video. I have a subscription to Discovery Education's United Streaming, and we watched the video called The Incredible World of Spiders by Discovery Education. In case you care to look it up, you can check it out HERE.

We did a spider craft. 

You can find my tutorial on how to make these little arachnids HERE. The kids really enjoy them, and they're anatomically accurate enough to go along with learning the parts of a spider. :)

We still had time to get in our math test, some handwriting, and other essentials as the quarter gets ready to come to a close. It's always fun to do something a little different for a day. I really enjoy watching the students' excitement as we learned about arachnids. 

Photobucket

Monday, October 28, 2013

Conferences are coming! {Student Self-Evaluations}

And it's just about that time of year again.... you know what time of year I mean! ......

Dum, dum, dum...

PARENT TEACHER CONFERENCES!

I always feel like I'm unprepared for parent teacher conferences, particularly at my current school. The way that our school operates, I have very little interaction with most parents prior to our conferences in November. Also, my school doesn't allow student-led conferences (bummer!). So, I needed a way to have students lead the conferences without actually having them sit at the table with us.

This year I vowed that I would be more prepared than I was last year. And, by George, I think I am! Thanks to having a student teacher since school began, I found that records day didn't need to be spent frantically grading and entering grades, so I took Friday morning and developed a student self-evaluation tool to use with my students.


If you'd like to use it, hop on over to my TPT store. I made it for my classroom, but it's just a perk if you can use it in yours and save a little time. It's in Word Document form, and fully editable. Enjoy! 

Photobucket

Wednesday, October 23, 2013

There's a SPOT for you!

I hereby promise to attempt to keep a blog. For reals! I have been terrible about keeping up this blog. Best intentions, but then reality set in. As I was teaching my students this morning about how blogs are a type of text, I showed them my blog... and realized just how long it's really been since I posted! Yikes!

This is my second year at my current school, and it's amazing how different the second year can be. This is my third school, and it never ceases to amaze me how much better the second year is. I'm finally settled in an enjoying my class.

It's a bit late for this, but I still thought I'd highlight a few of the changes I've made to my classroom this year. I've perused a gazillion blogs around the cyber world and made a decision to embrace a classroom theme. I chose polka dots!

For today, I thought I'd show you our hallway bulletin board and locker decorations that go along with our polka dot theme!

My student teacher got construction paper and began to cut lots and lots and lots of circles. She cut some slightly smaller than the others and layered two colors to make more interesting spots.
This picture isn't the best, but you'll get the idea. I printed the class names onto mailing labels in a fun font. I made several sheets of their names so I could label everything---books, bags, folders, name tags, files, etc. I don't know why it's never occurred to me to do this before! It saved loads of time! 

This was our hallway bulletin board. I don't love the brown on brown, but I wasn't thinking it through when I pulled everything together, so it just happened that way and I was too lazy to cut out new letters. :) It was still readable, and I got a lot of compliments on it.

We made the word SPOT 3-D by hot gluing pieces of drinking straws to the back and then hot gluing sticky tabs to those to hang them on the board. I love the little POP of those letters.  

We also made coordinating "spots" for the locker labels. We're fortunate enough to have these lockers right outside our classroom for each student.  

Have I mentioned what a mammoth bulletin board this hallway board is? I can't even get a very good picture of the whole thing. This is my best attempt. 

Happy teaching, everyone. See you SOON, I promise. :) 

Photobucket